Google Cloud Sign-up Guide
A step-by-step guide for signing-up for Google Cloud services.
Google Cloud offers many services that help geospatial developers host data and run their computation. The following are some of the key geospatial offerings of Google Cloud Platform.
- Google Maps Platform
- Google Earth Engine
- Google Cloud Storage
- Google BigQuery
- Google Colab Enterprise
This guide will help you sign-up for an account, create your first project, set-up a billing account and activate services.
If you are looking to sign-up for Google Earth Engine - please visit our Google Earth Engine Account Sign-up Guide.
This is a simplified guide for our course participants and not an official document. Refer to the Google Cloud Documentation for official instructions.
Create a Project and Setup a Billing Account
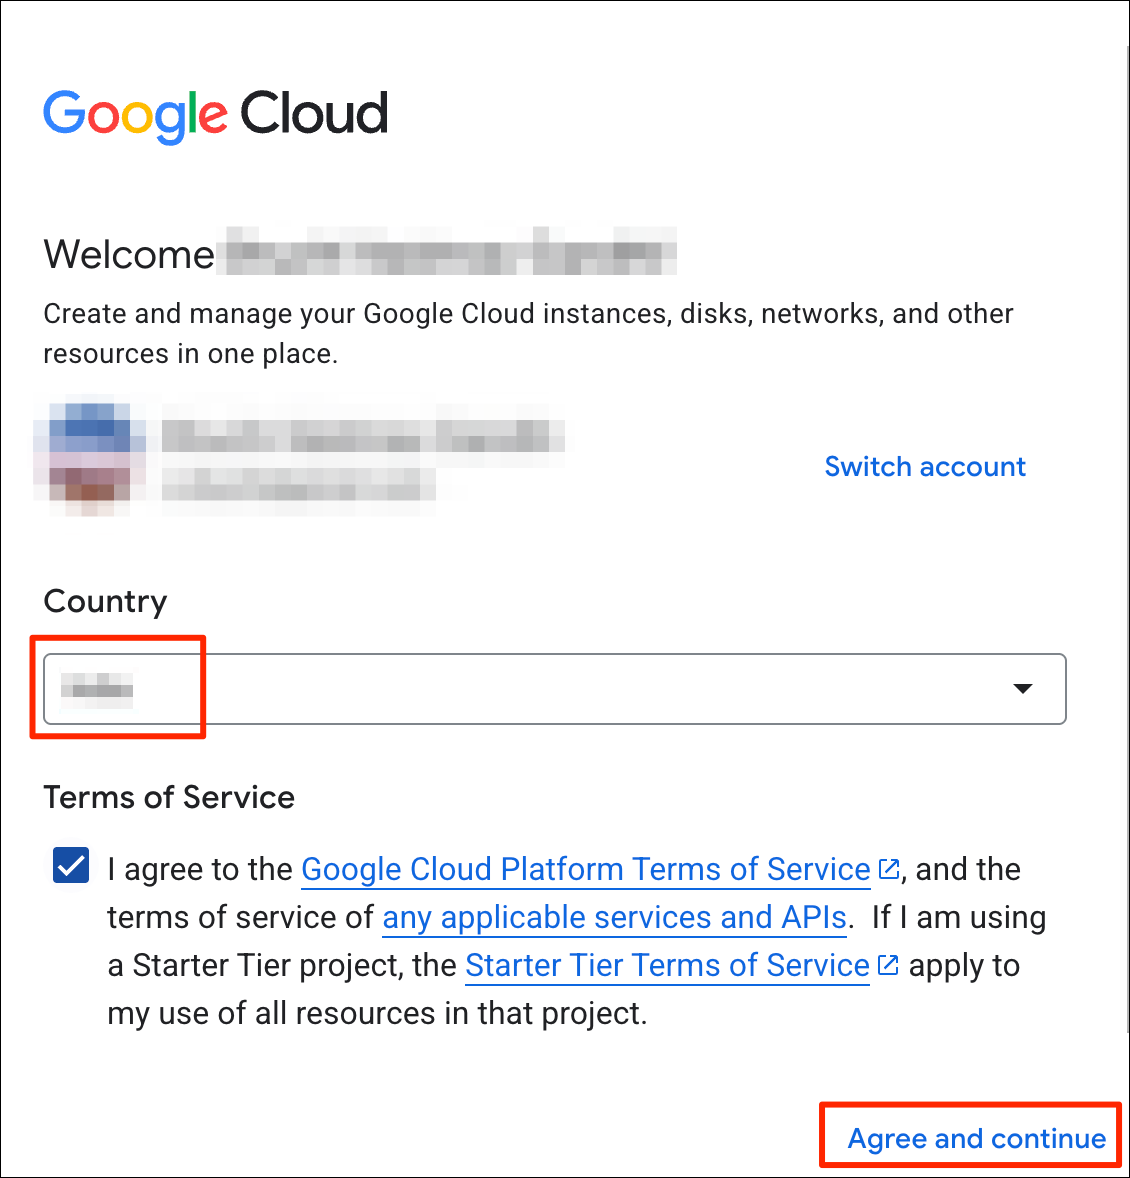
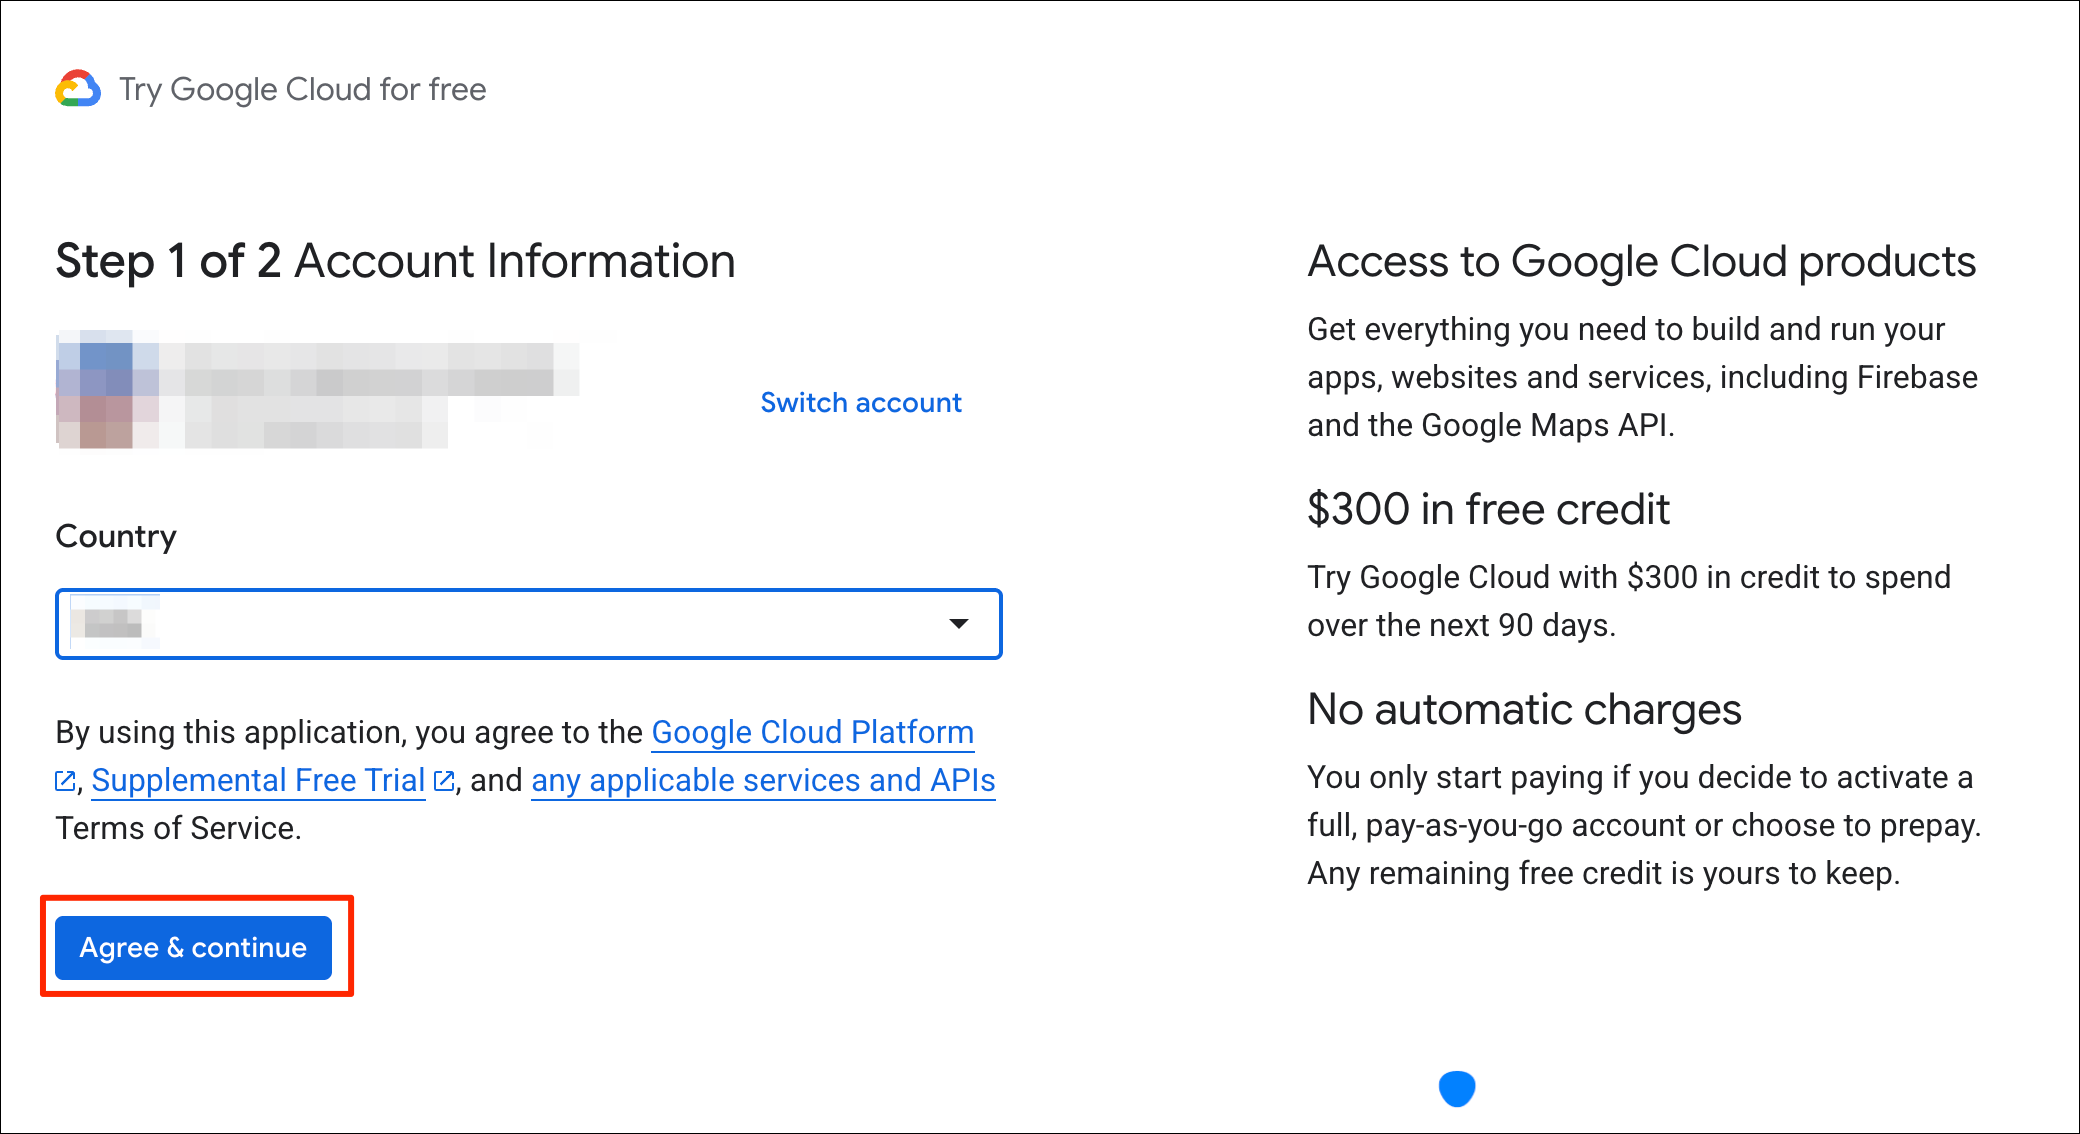
- Visit Google Cloud Console https://console.cloud.google.com/. If you had previously not activated any cloud projects, you will be presented with a sign-up dialog. Choose your country and review the Terms of Service. Check the box to agree to the Terms of Service and click Agree and continue. When you first login, you maybe presented with an offer for a free trial. You can also claim this offer later on when you first setup a billing account.
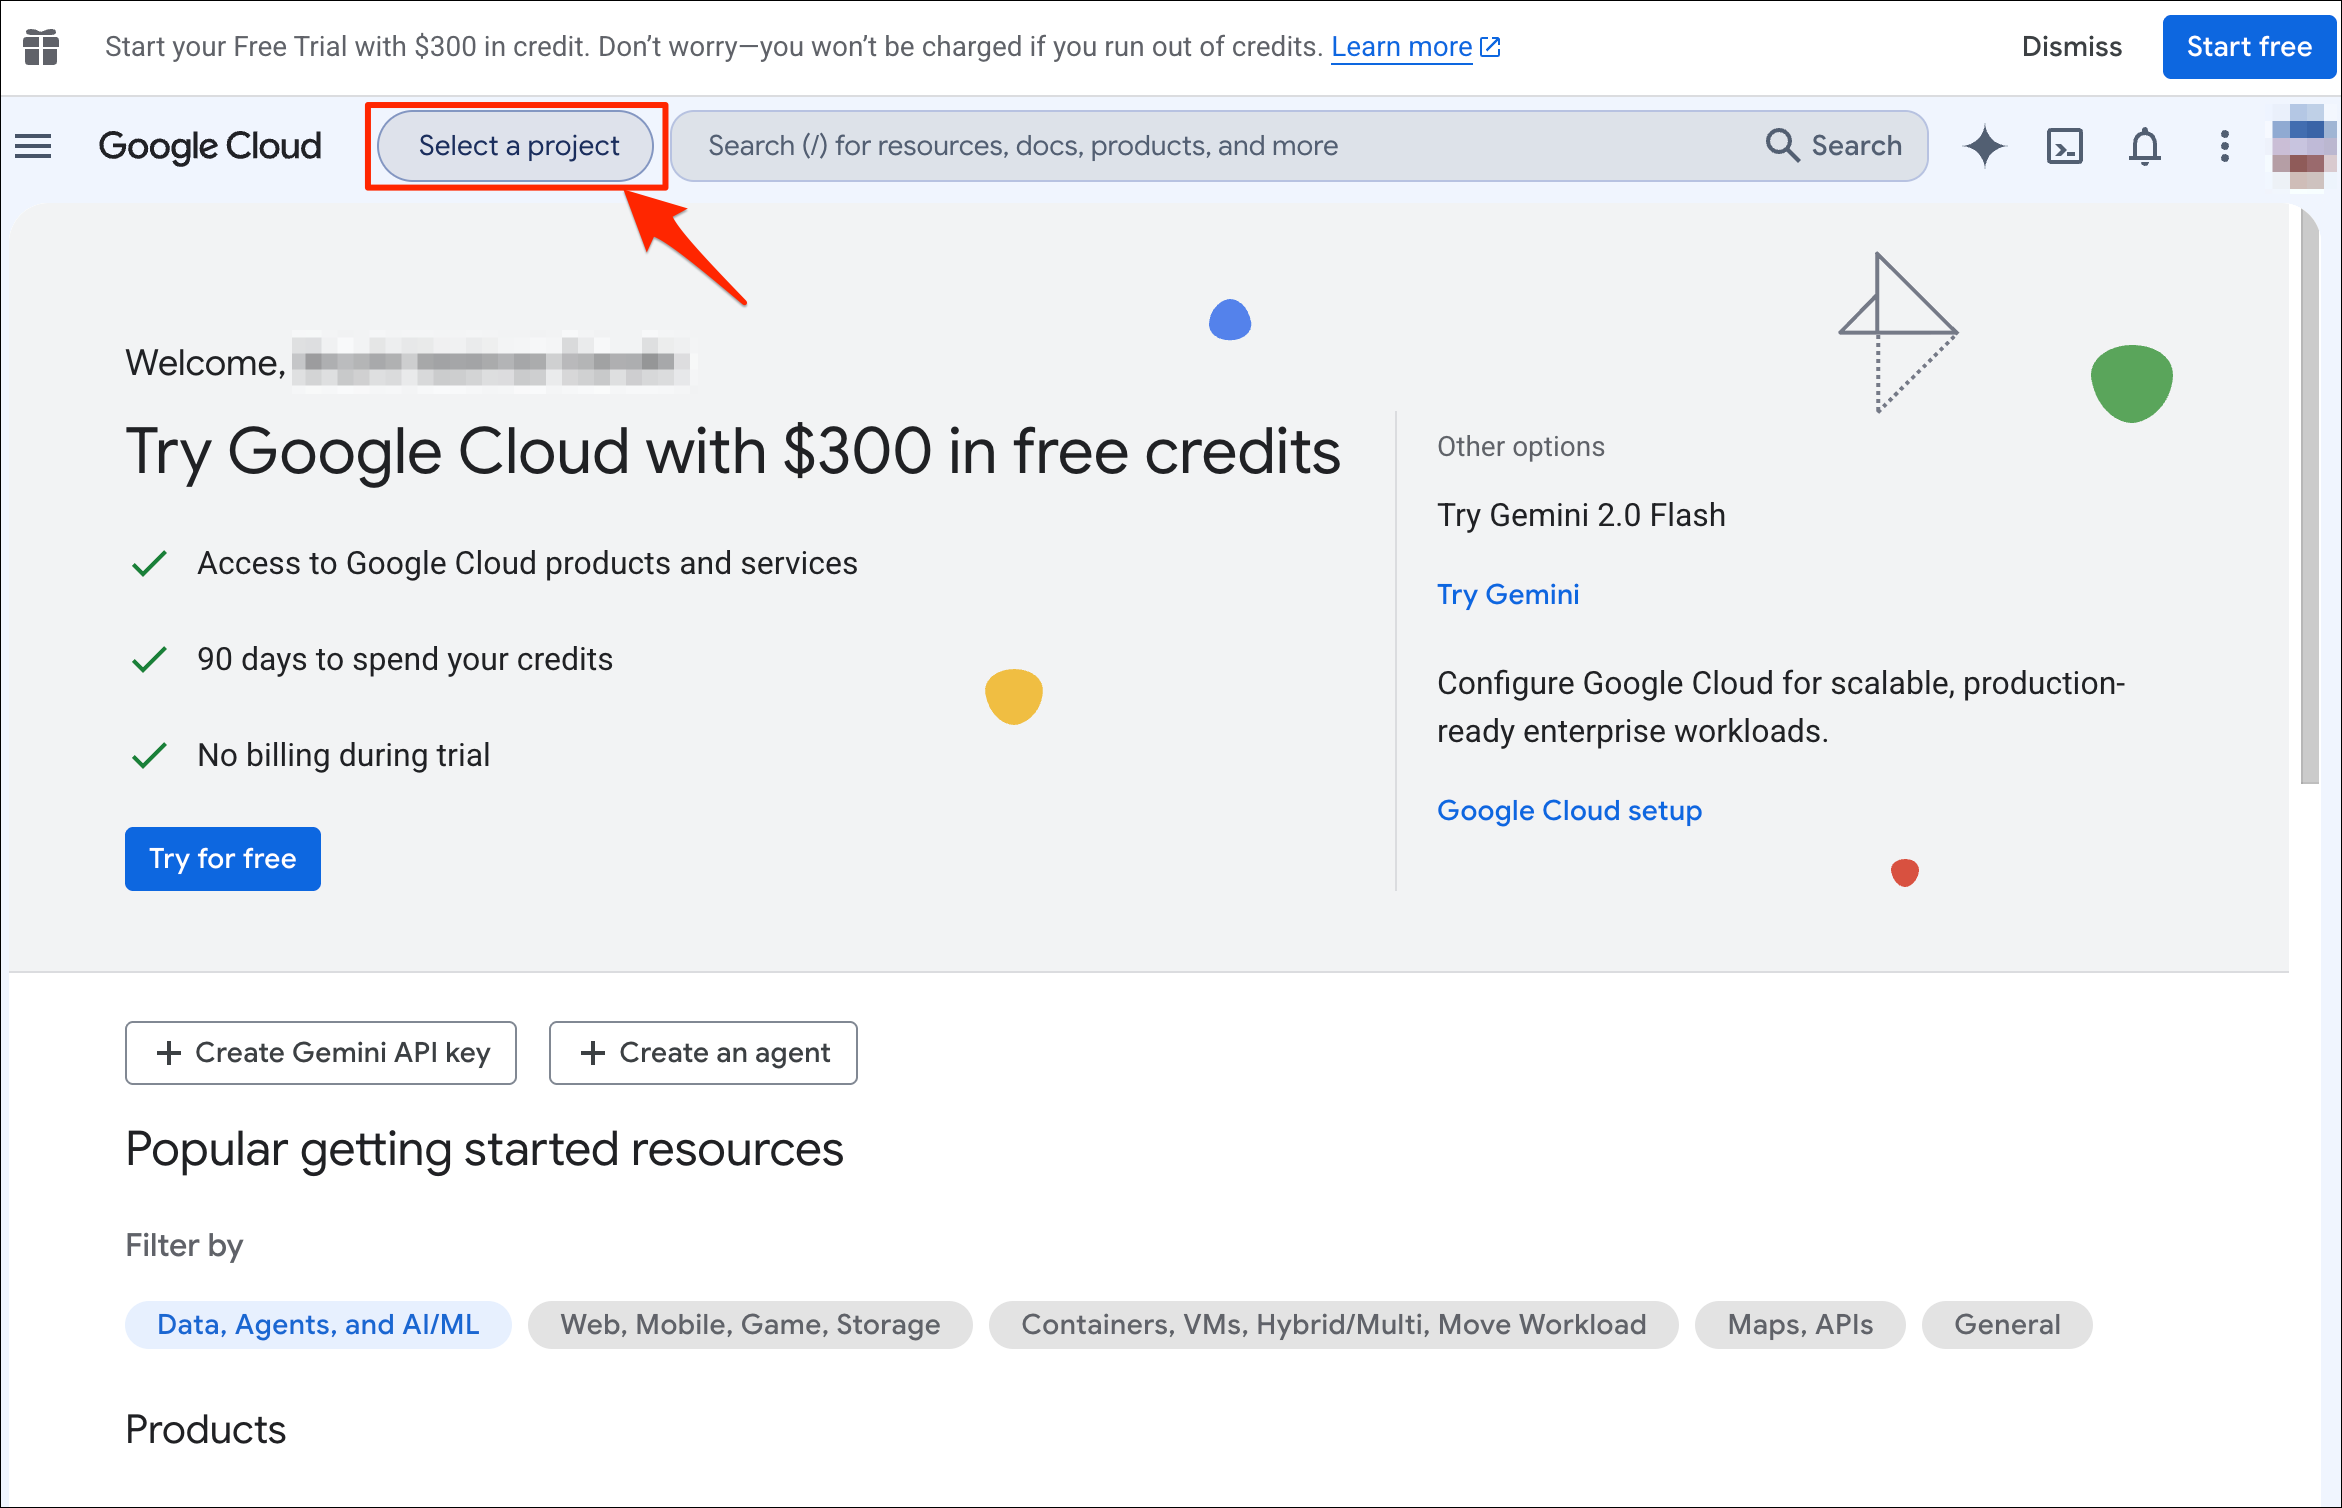
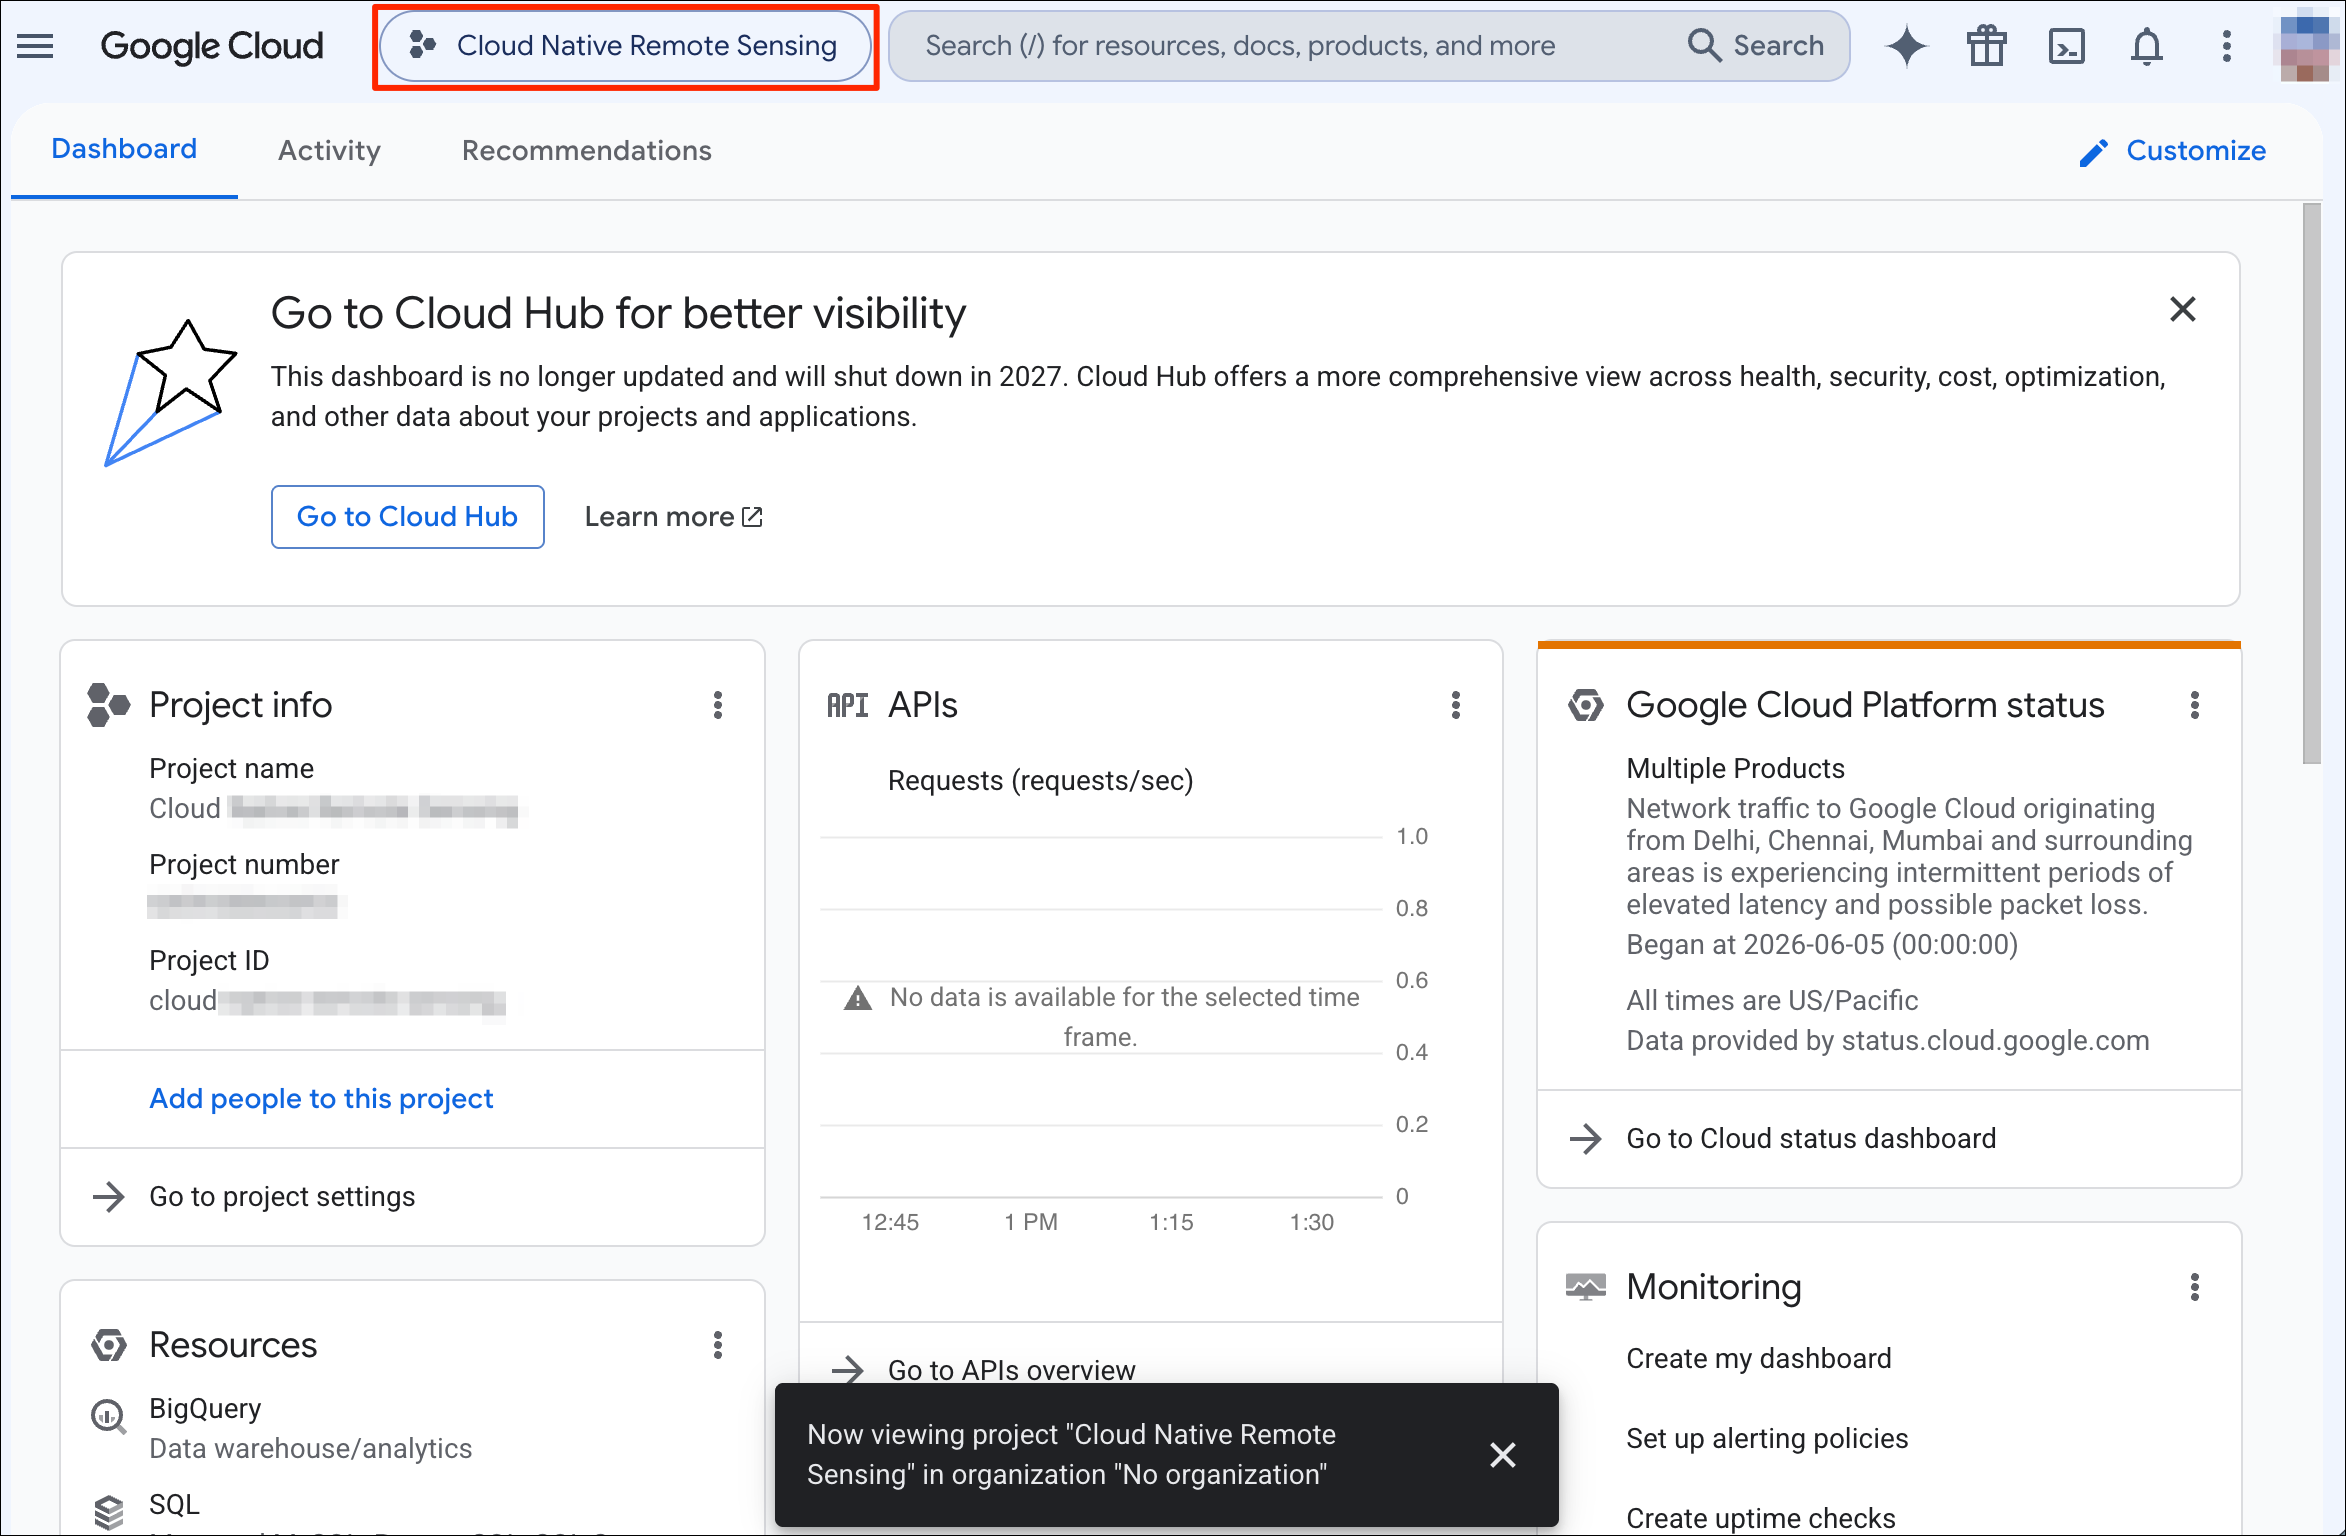
- Next step is to setup a Project. The project is like a workspace where you can enable certain APIs and configure services. Click on Select a project button.
If you already have a project created for non-commercial access to Google Earth Engine, do not use the same project. Create a new one for using paid cloud services.
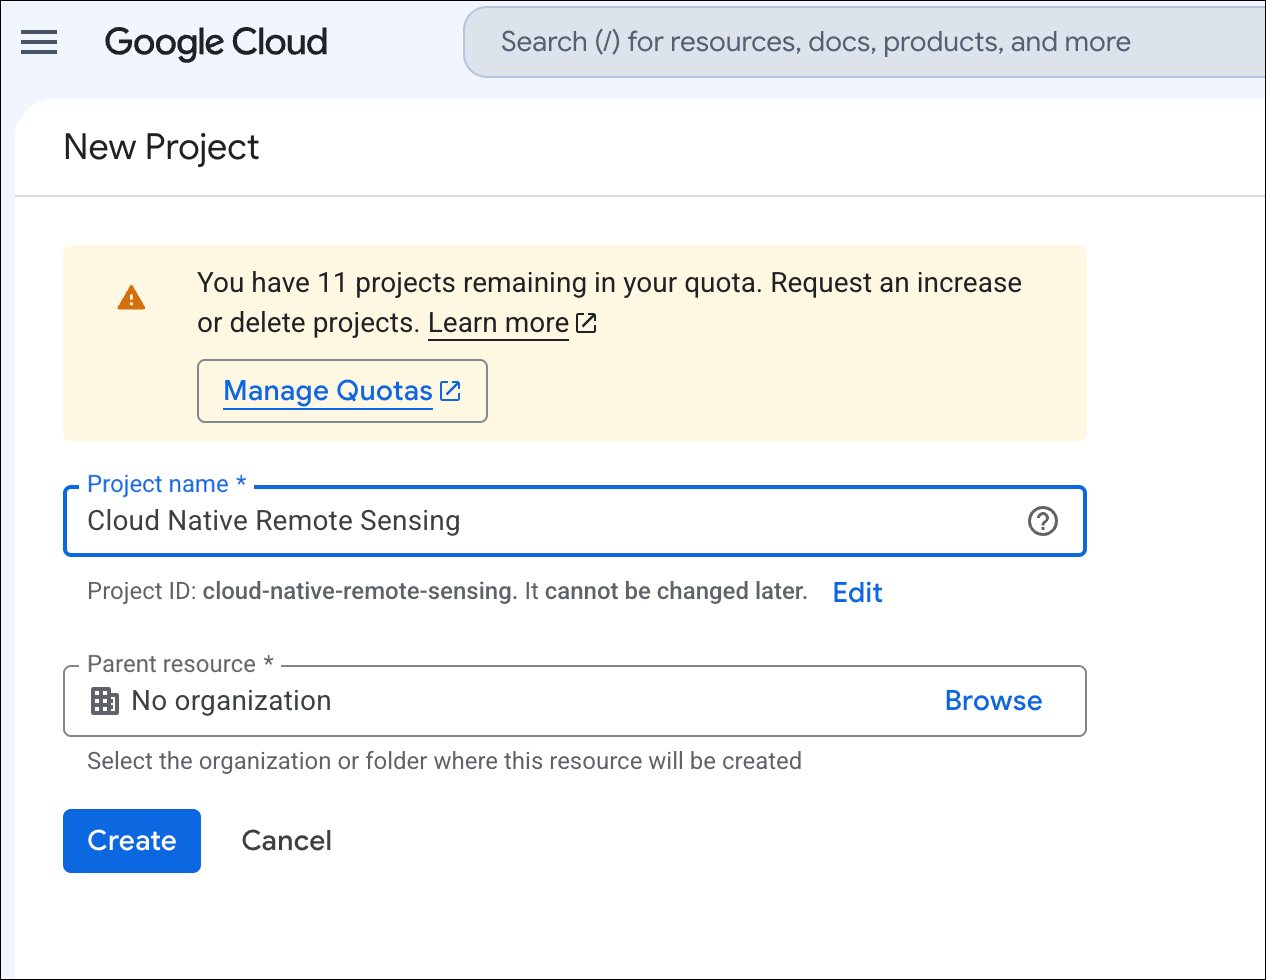
- If this is your individual account, your projects will be part of a group named No organization. Click on the New project button.

- Enter a project name. You can choose any project name. It is recommended to make it descriptive so you can identify the purpose for which you created this project.
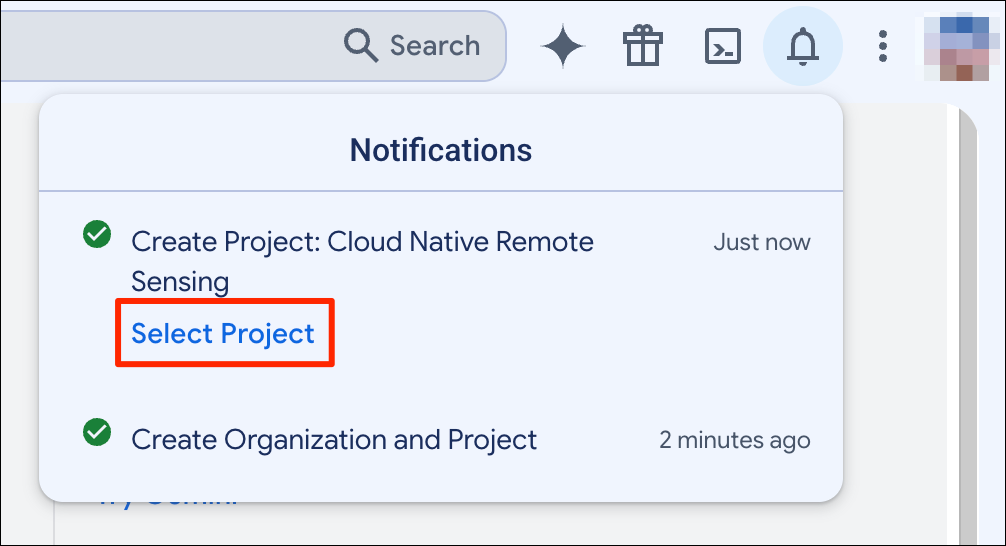
- Once the project is created, click on Select Project.
- The newly created project will be selected.
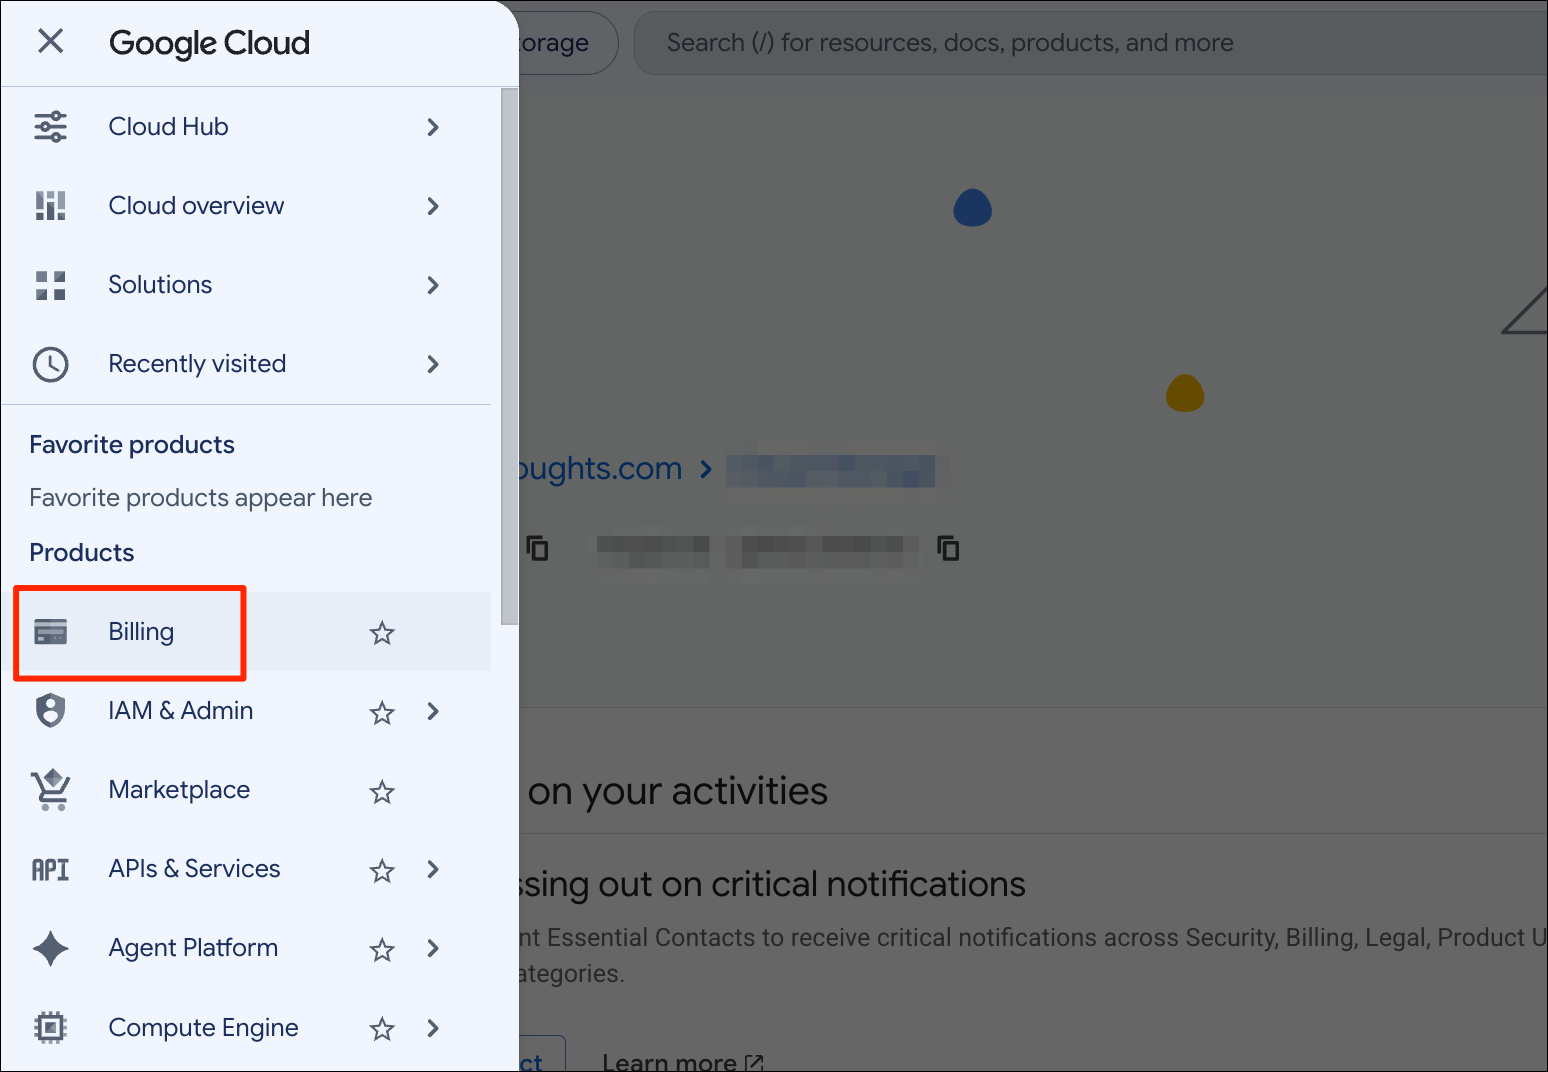
- Next, you need to setup a billing account and connect it to the project. Many Google Cloud services have a free tier but they still require setting up a billing account. Open the menu on the left-hand panel and select Billing.
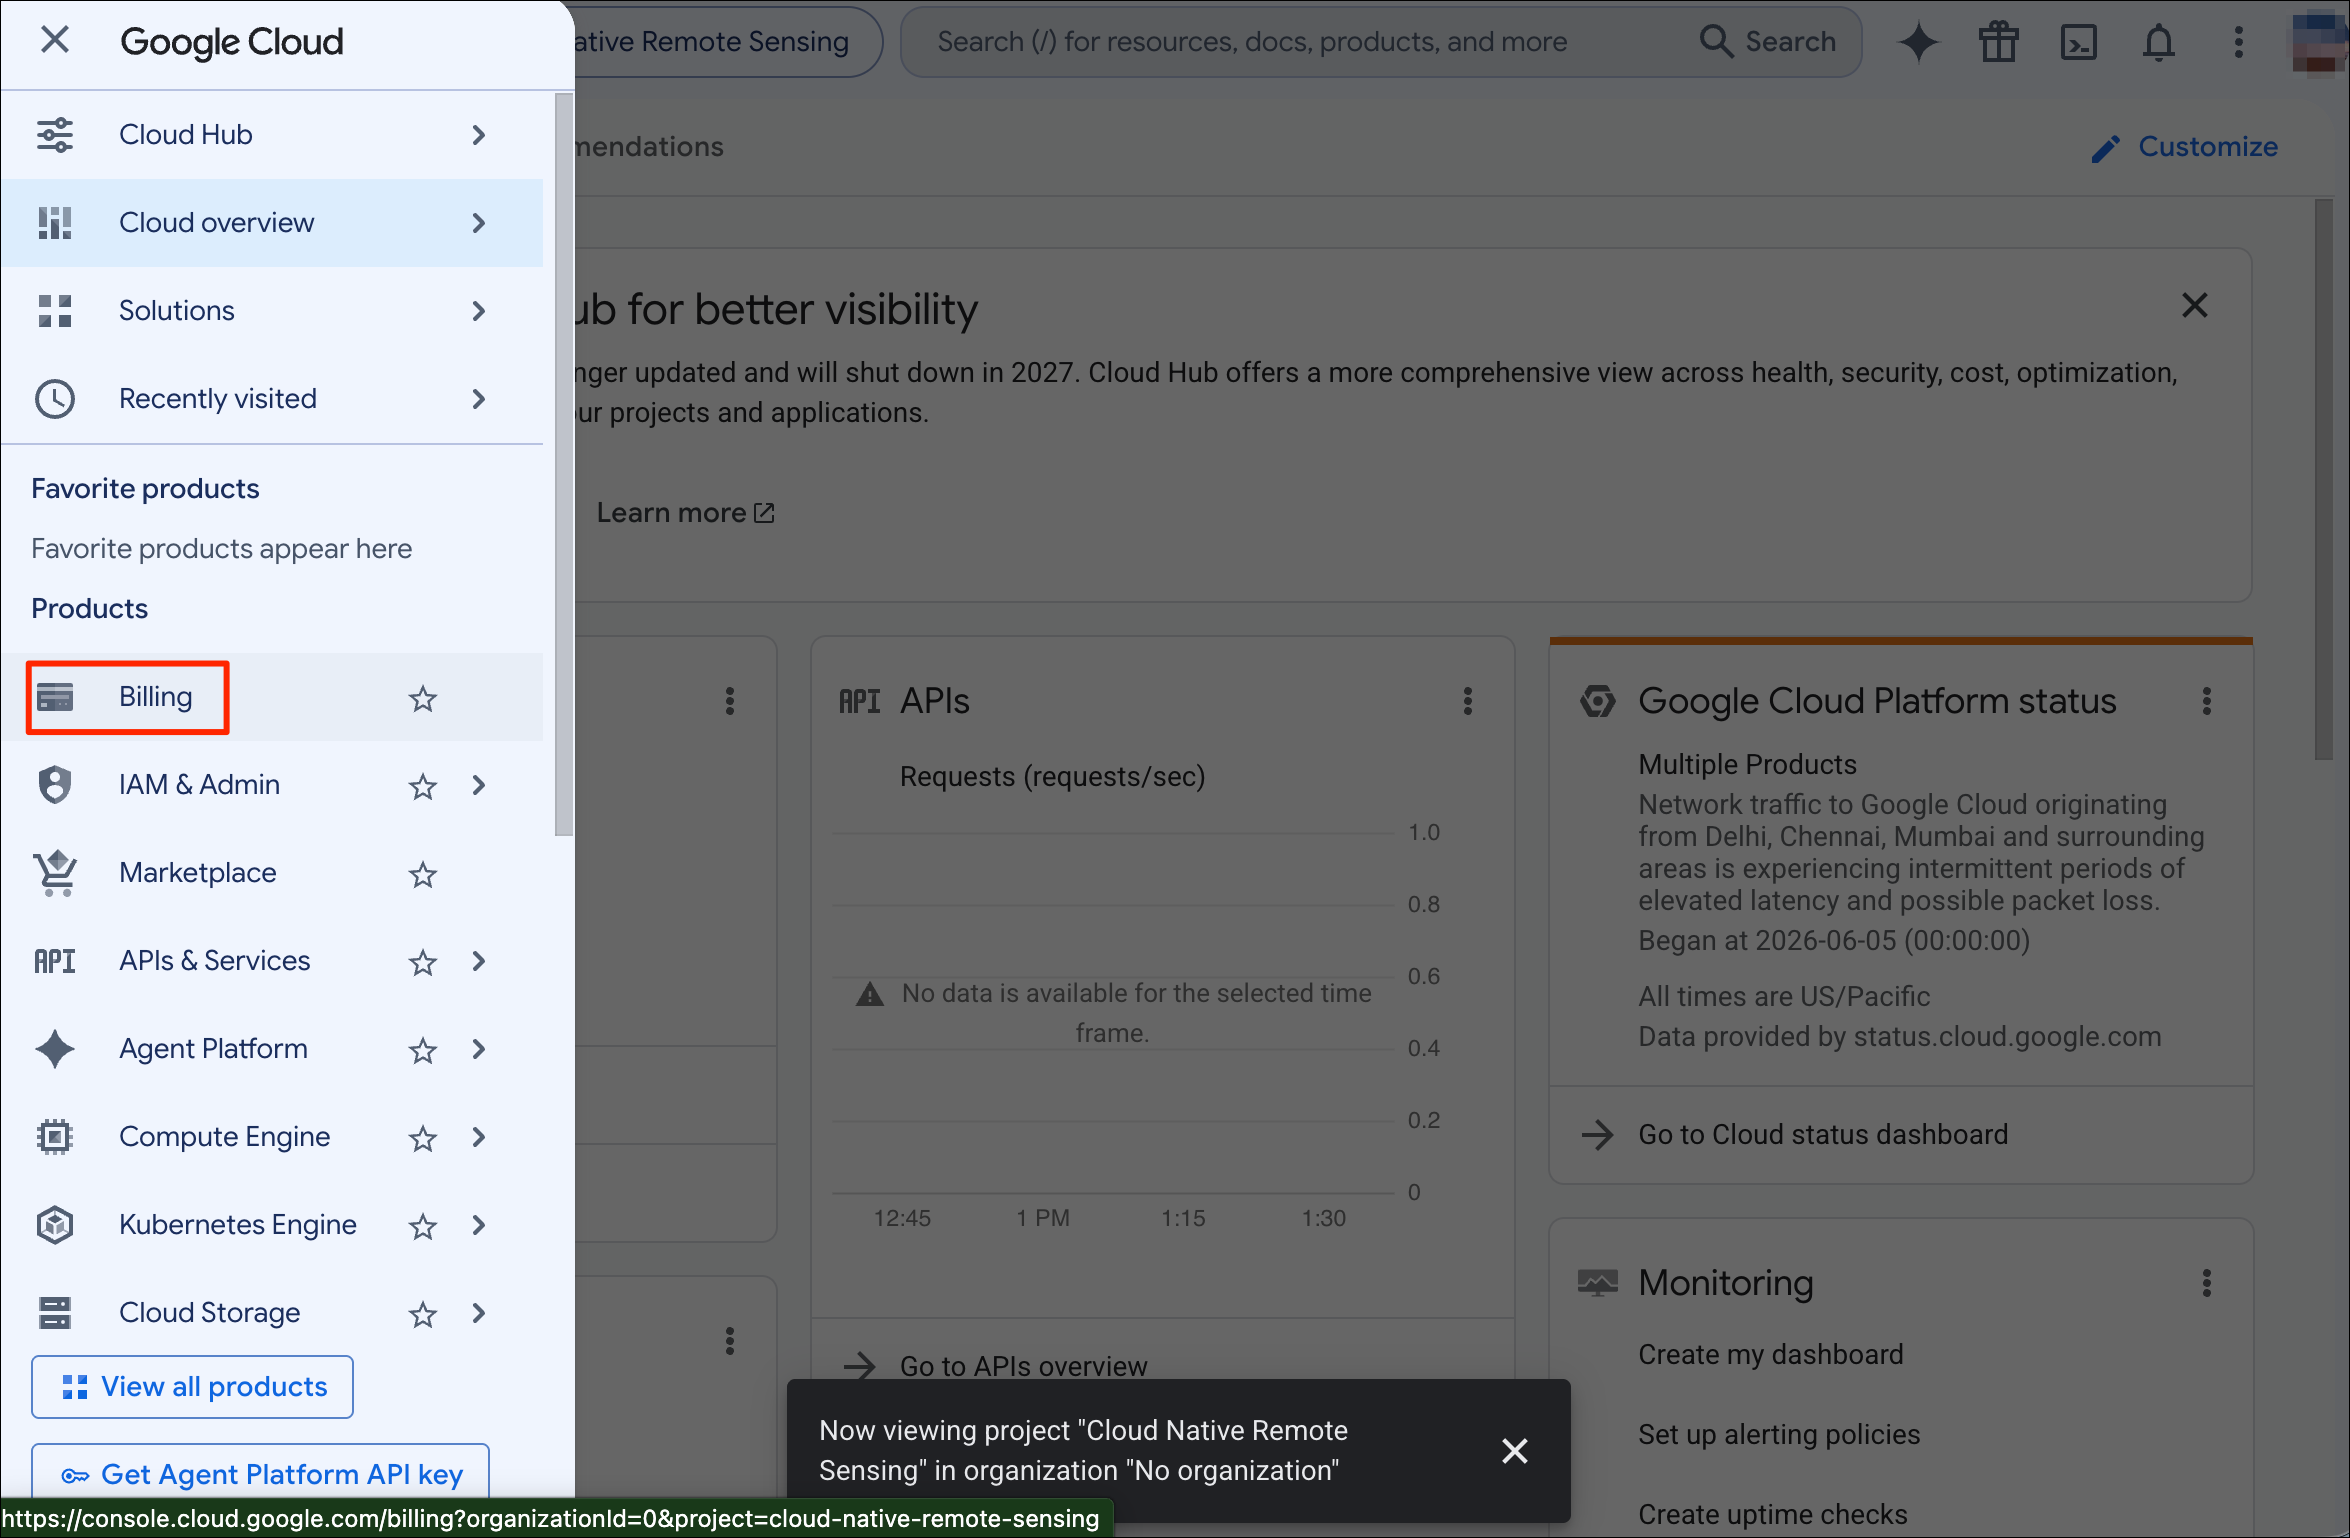
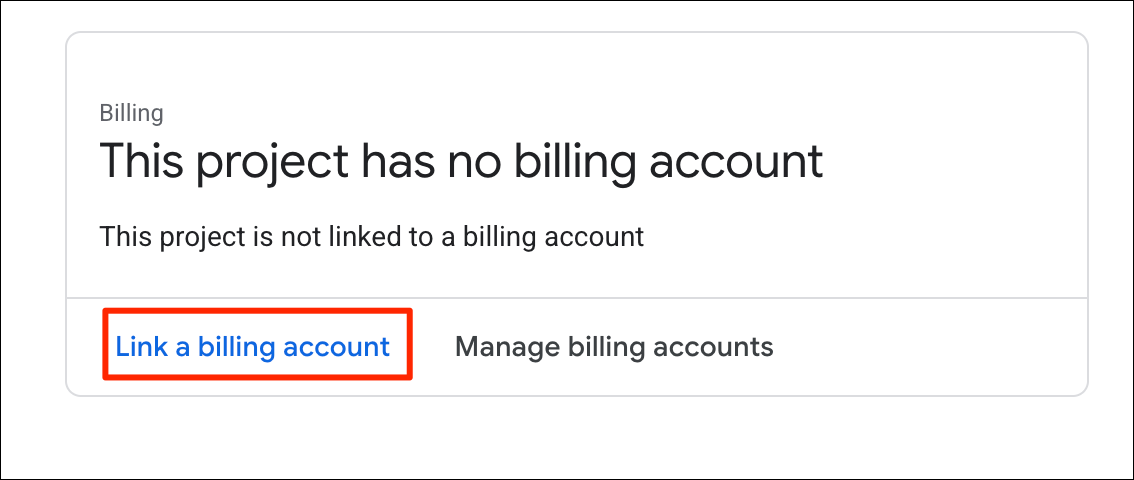
- When prompted to connect a billing account, click Link a billing account.
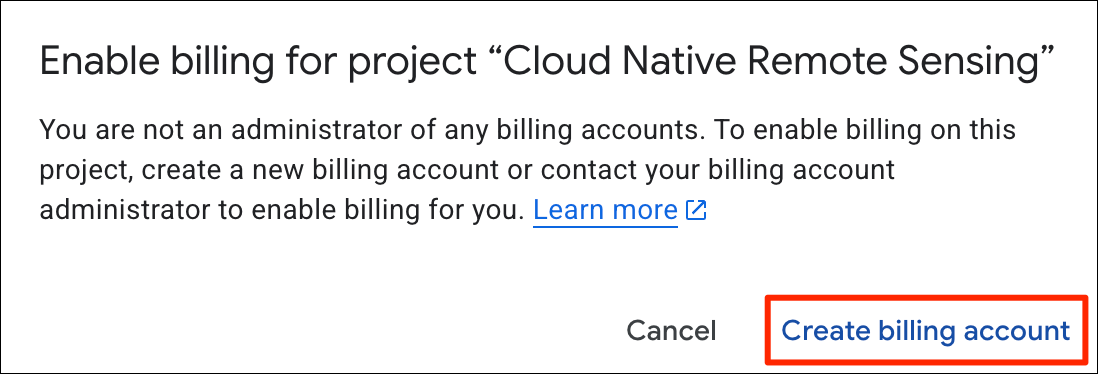
- In the confirmation dialog, click Create billing account.
- The billing setup will depend on your country and available payment methods. Go through the setup and enter your payment information.
Setup a Budget and Alerts
As the saying goes: “When using cloud services, you don’t pay for what you use, you pay for services you forgot to turn off!”
A good practice when using cloud services is to setup a mothly budget and alerts when you exceed a certain amount of spending. You are billed at the end of the month, and it is quite common for users to get a large bill because you accidentally turned on a service or used an expensive resource without realizing it. Setting up an alert will help you catch these problems before you incur more costs.
- Go to the linked billing account for your project by selecting Billing from the main menu.
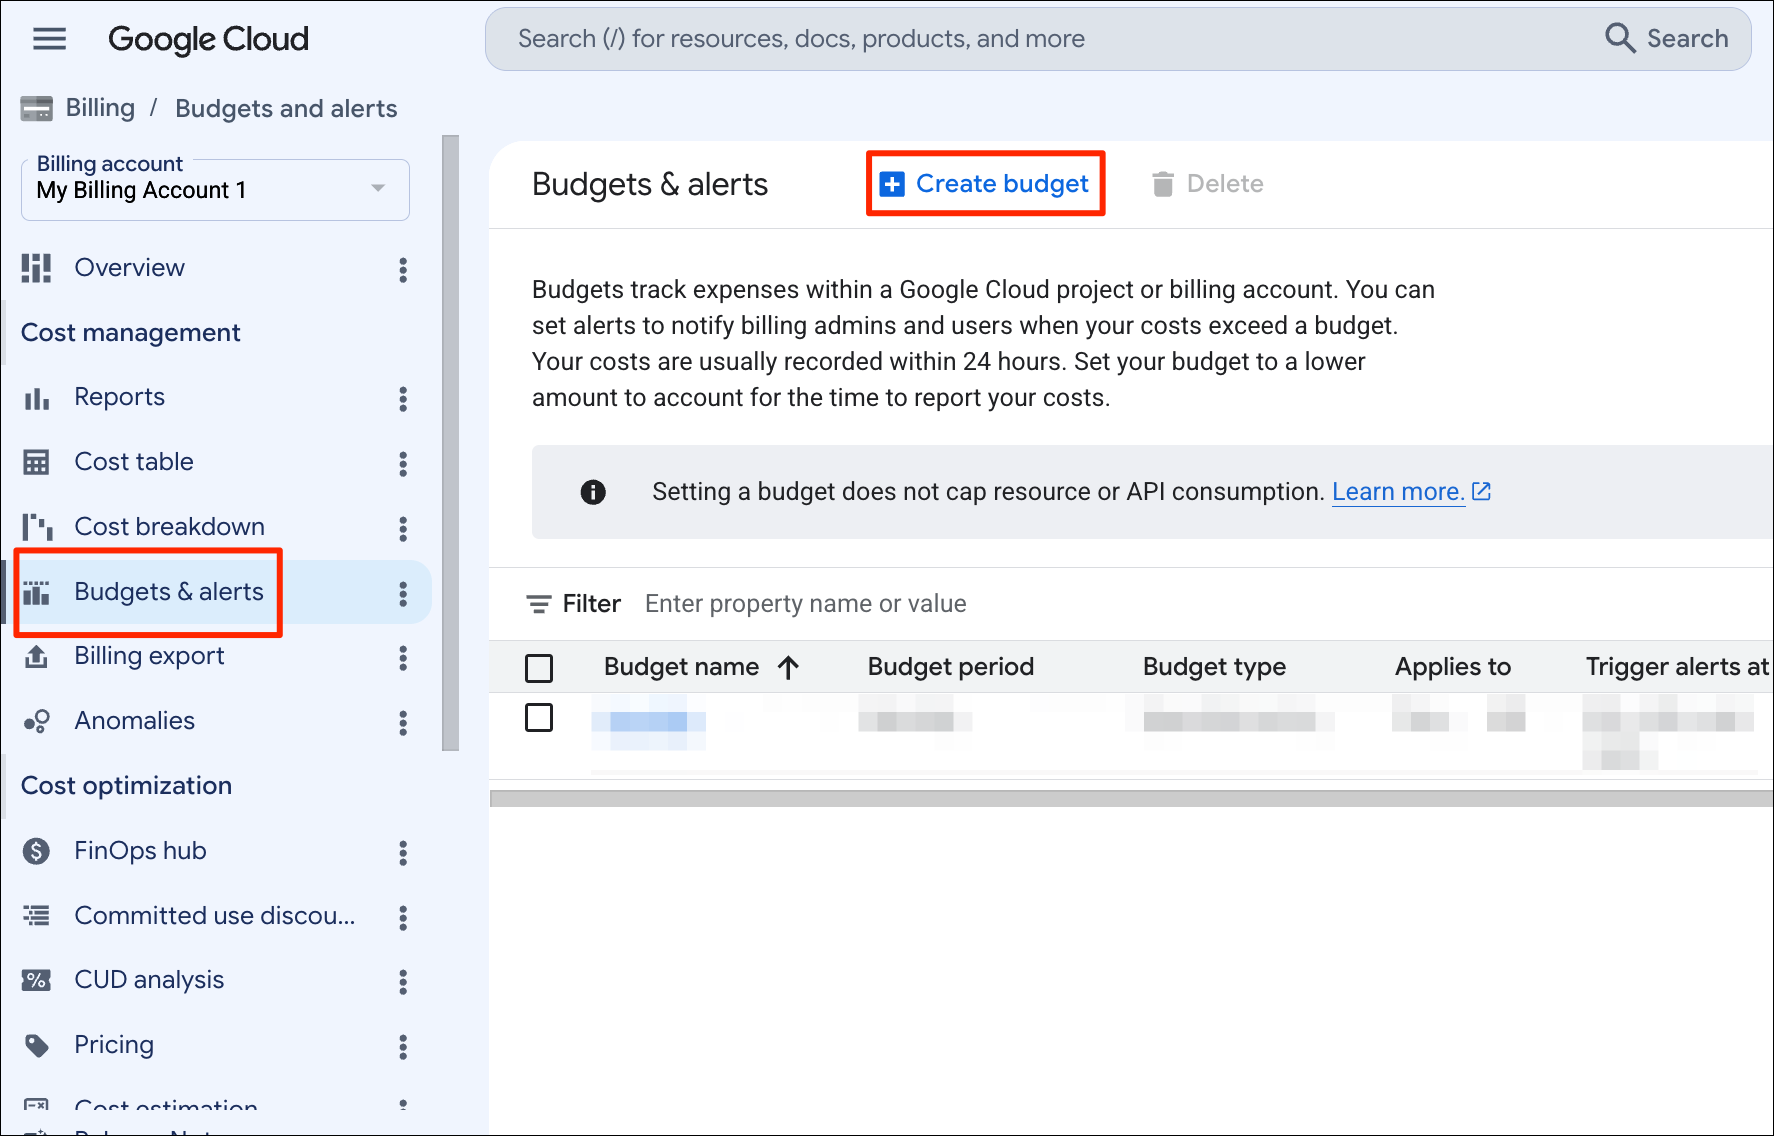
- Go to the Budgets and alerts section and click + Create budget.
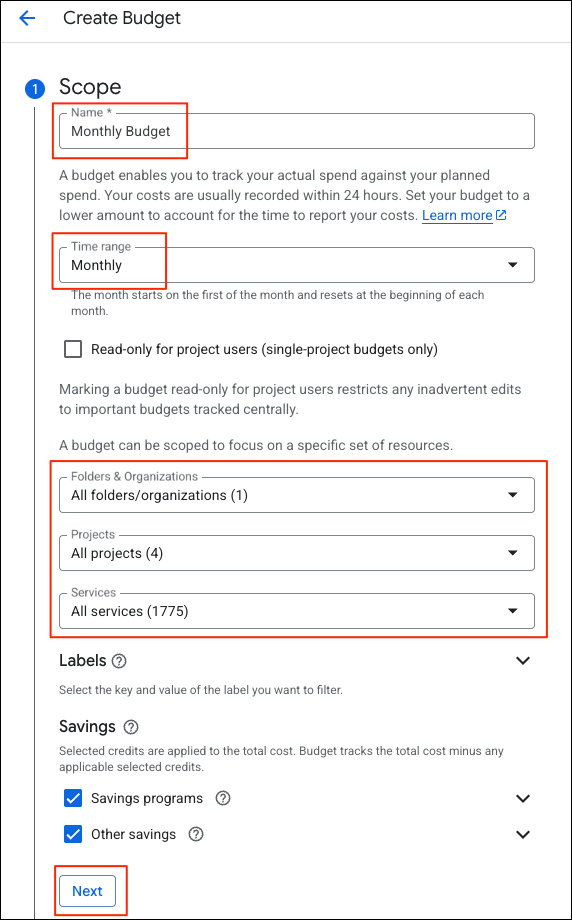
- In the Scope section, enter a name, time range and select all the projects and services in your account. Click Next.
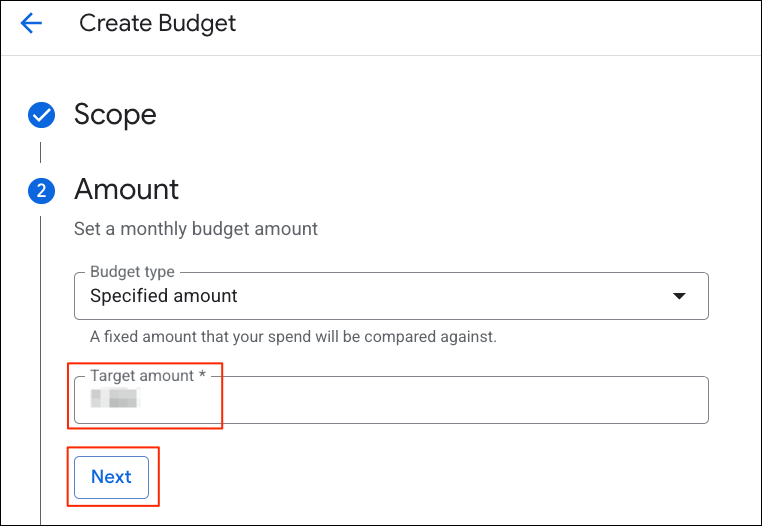
- Enter the amount. If you do not use cloud services frequently, a small amount like $5 (or equivalent in your currency) is a good choice. Click Next.
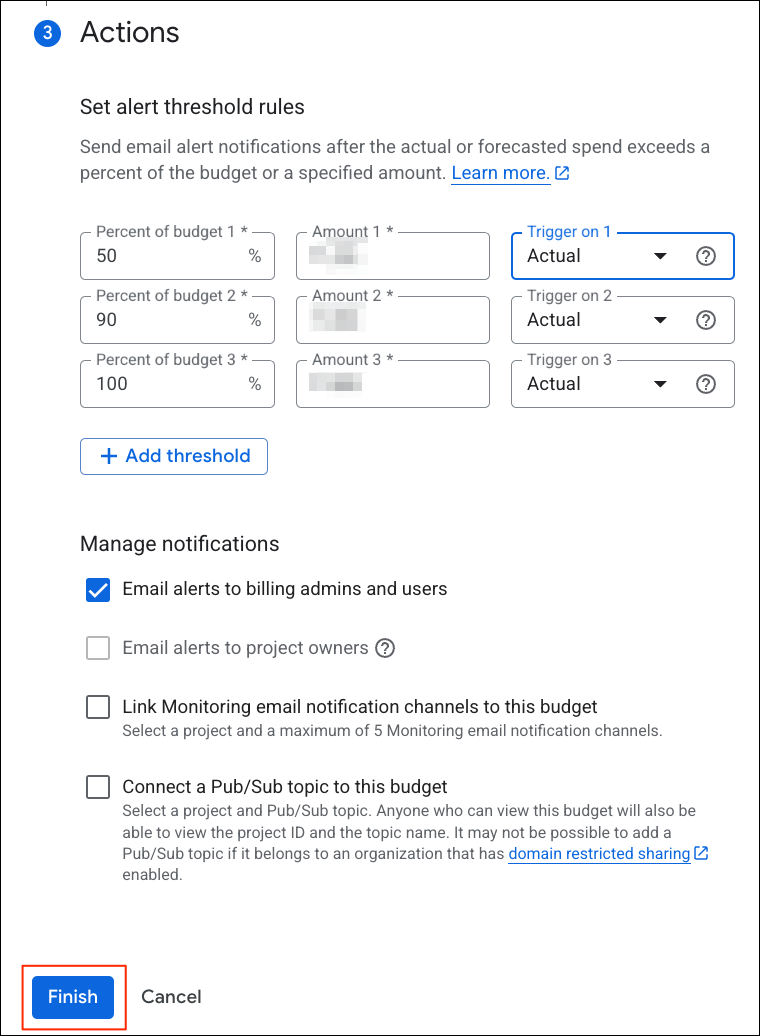
- Review the alert thresholds. You will get an email each time the 50%, 90% and 100% of your budget has been consumed. Click Finish.
If you want to report any issues with this page, please comment below.